Installation of biosfloor

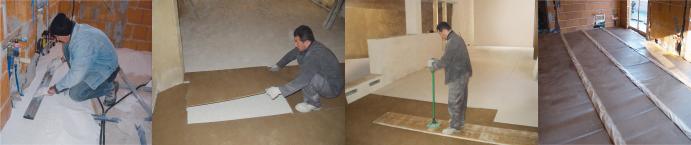
Biosfloor is applied directly to the rough floor and smoothed out to a level taking into consideration the addition of 20% more material to compensate for the compaction. The refill of the insulation, in order to be able to walk on it and to keep it dry, is covered with the appropriate vapour brake Thermo RP, water-resistant but breathable. If desired one may further increase theacoustic insulation, by inserting 1 or 2 layers of A8 Plus (8mm) quietboard natural wood fibre panels or 1 layer of TS (12/11 mm) non-flammable rock wool quietboard panels between the Biosfloor chips and the Thermo RP protection. On the Sul Biosfloor inulation package one can apply any type of damp screed (cement, self-levelling, lime, trass, etc.).
1. Prepare

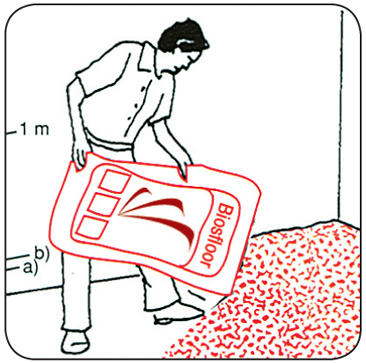
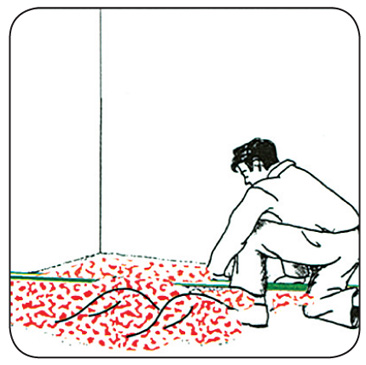
Close holes and openings in the floor and walls.Mark on the walls the planned height of the insulator (a) increased by 20% to compensate for the compaction (b).In the case of large thicknesses it is recommended to apply layers of around 150mm of Biosfloor compacting each layer.

2. Pour and apply

Around the walls make a strip of of Biosfloor chips, making note of the height 1b) marked on the walls.Pour 1 or 2 sacks of Biosfloor at a time and with a straight edge smooth out the chips with circular movements. Take care not to step on the chips.

3. Cover

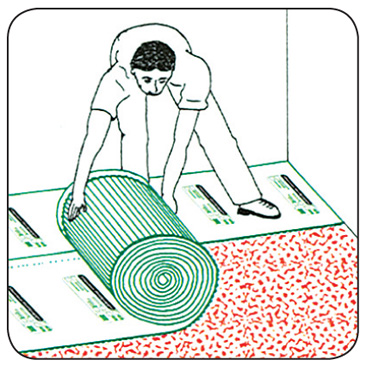
Cover Biosfloor with the quietboard panels (if part of the design) arranging them using staggered joints or directly with the Thermo RP paperboard (already equipped with the overlapping adhesive).Cut the strips of Thermo-RP according to the length to be covered before laying them on the chips.

4. Compaction

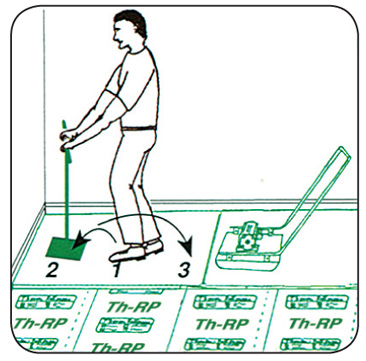
Arrange some strong and straight tables (for ex.yellow formwork panels) on the Th-RP and beat the whole surface using the manual compactor (ca. 3 hits per table) or the electric one until reaching the maximum level of compaction (see the level point1a).Thicknesses of chip up to 40mm do not need to be compacted.The insulating layer is now ready for the application of the damp screed.